


 Parquet Flooring Herringbone Pattern
  Hungarian Point Parquet
  Versailles
  Straight planks
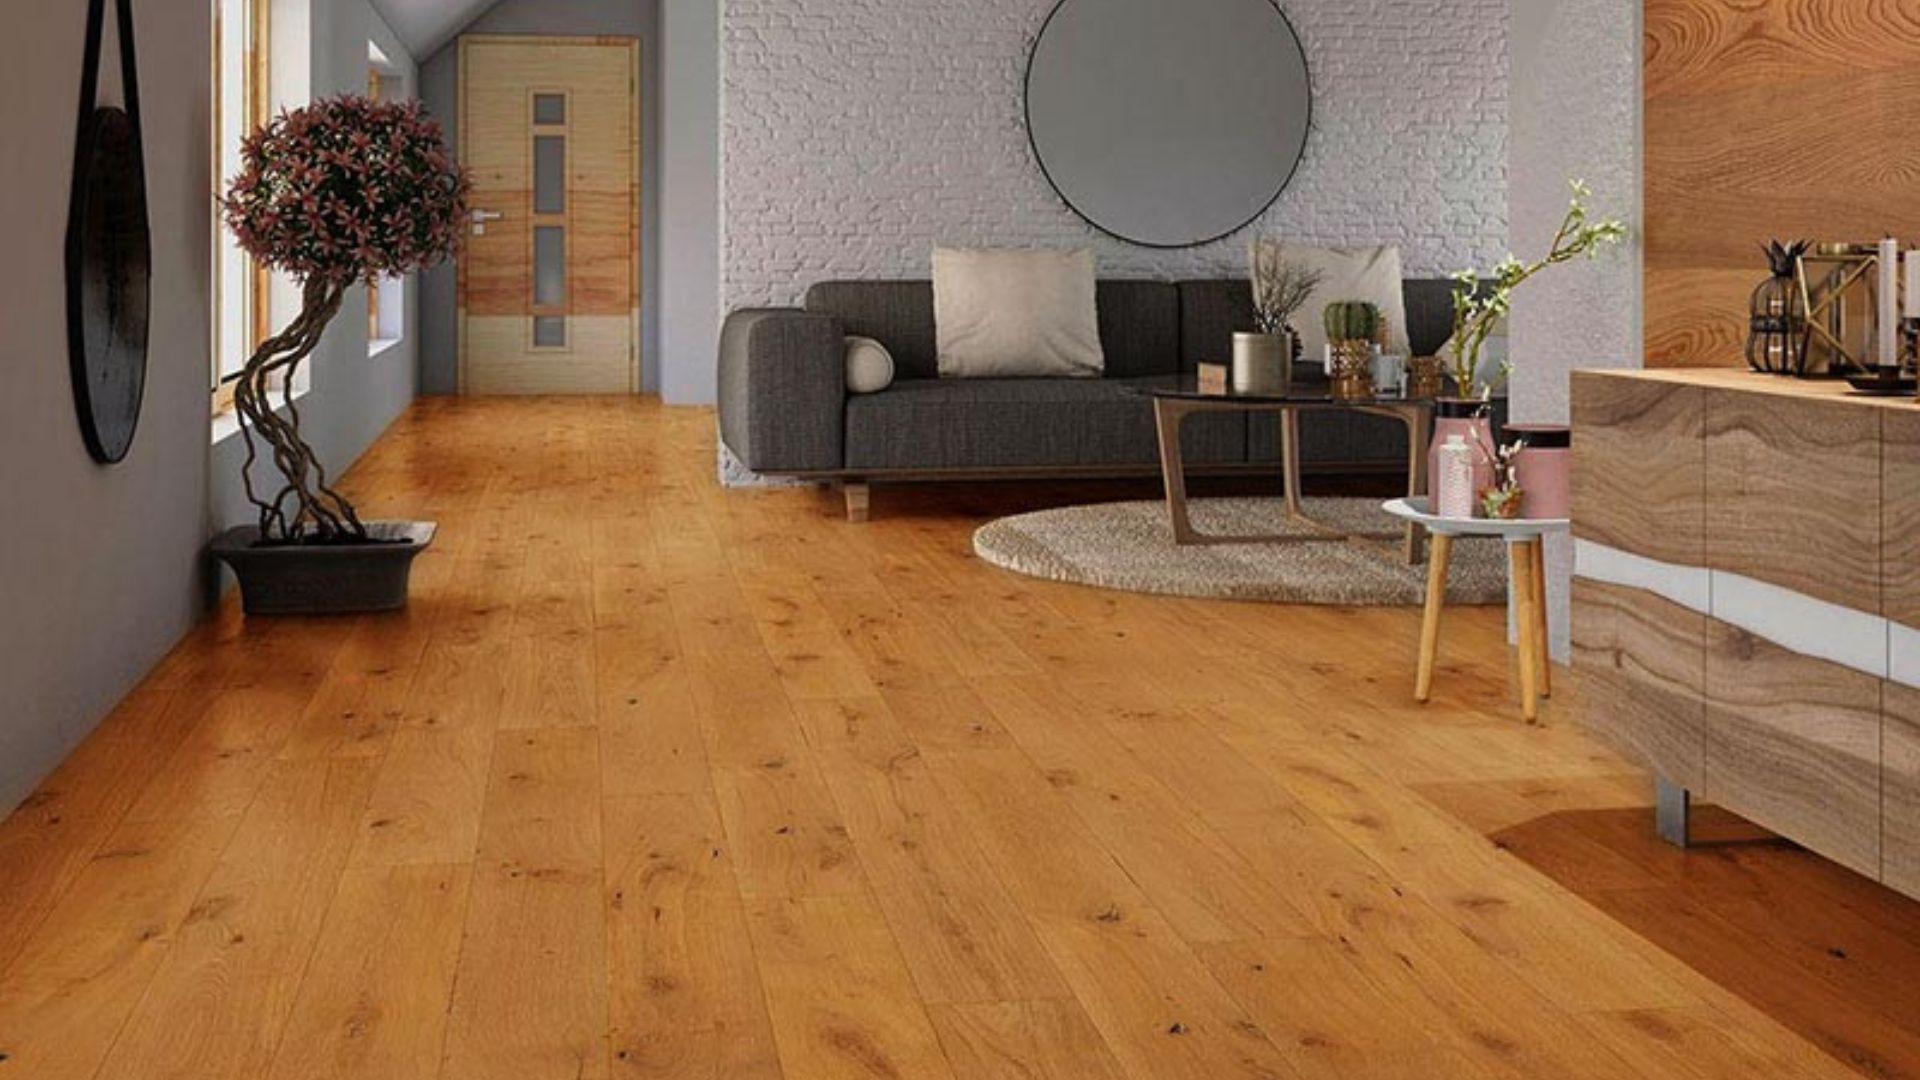


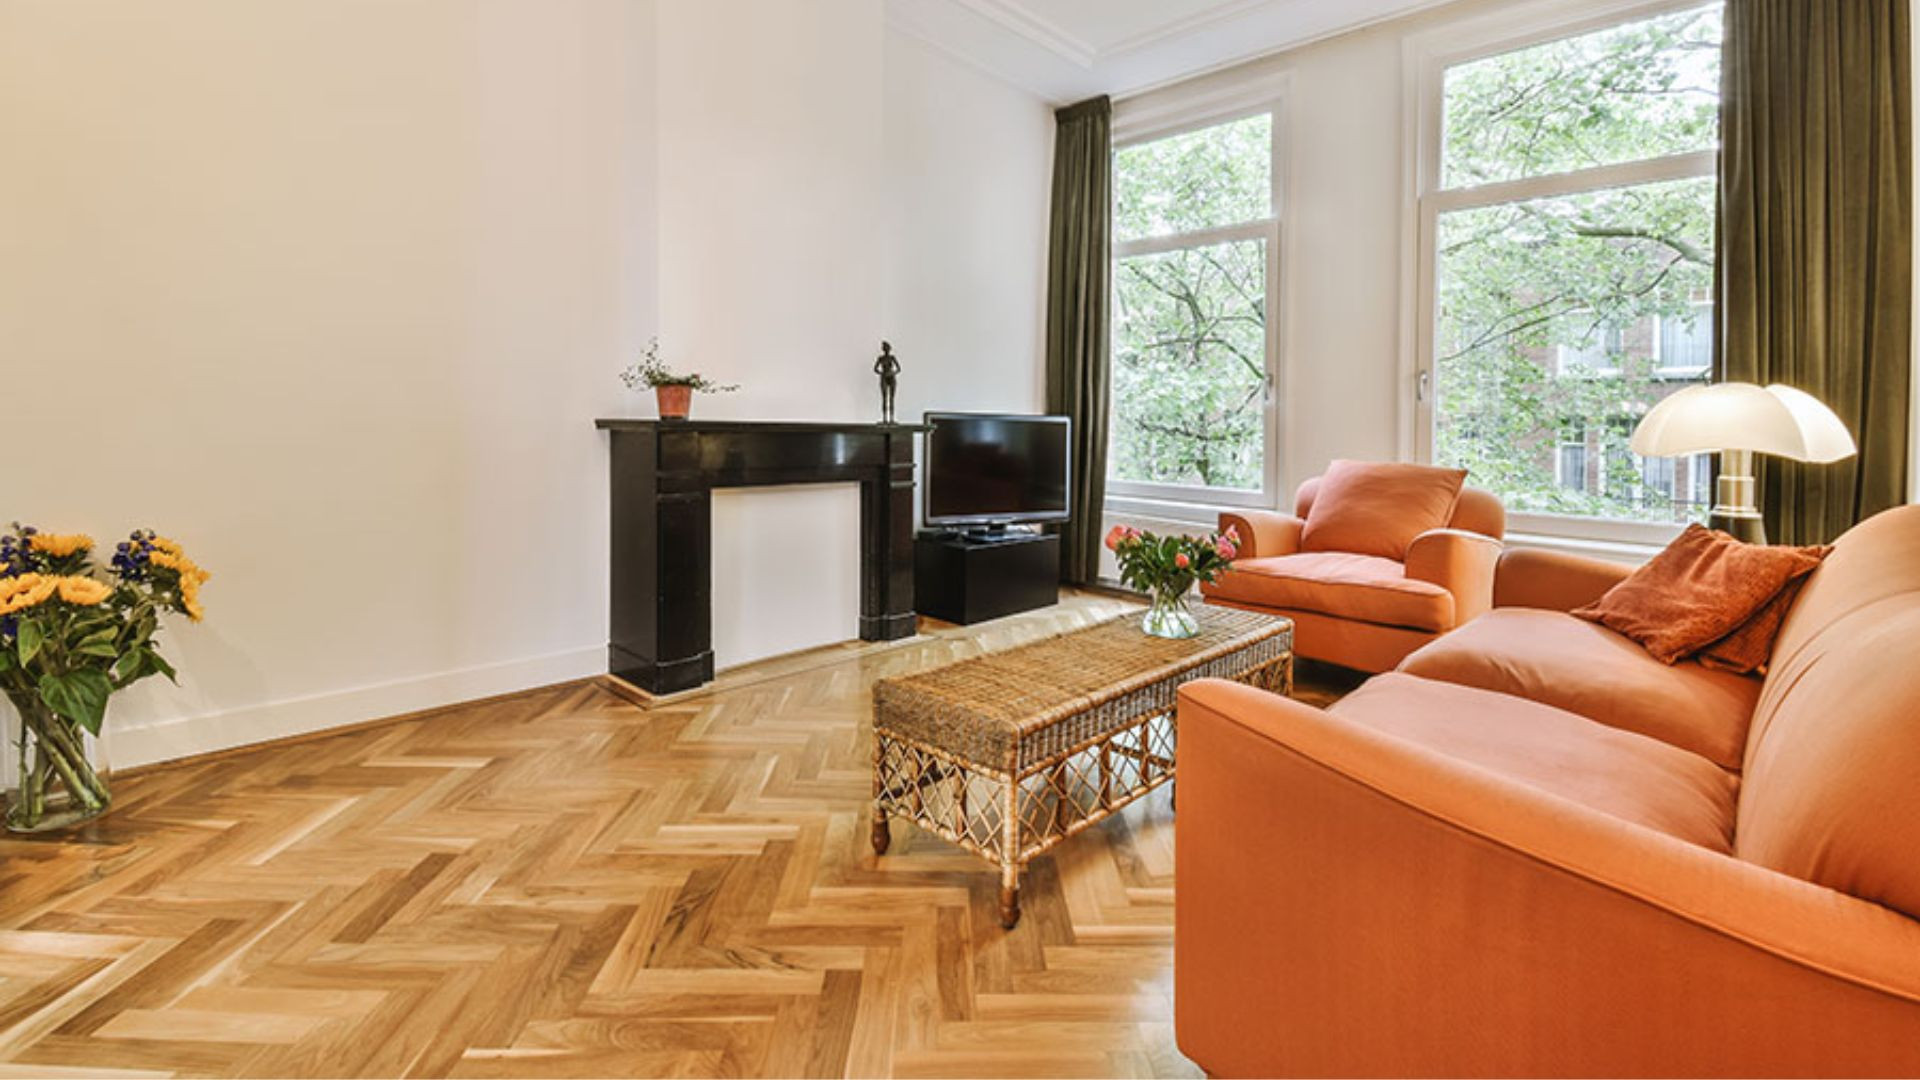
Discover the essential criteria for selecting the perfect flooring for your space. Aesthetic, durability,...
Search in blog
Blog categories
Latest posts

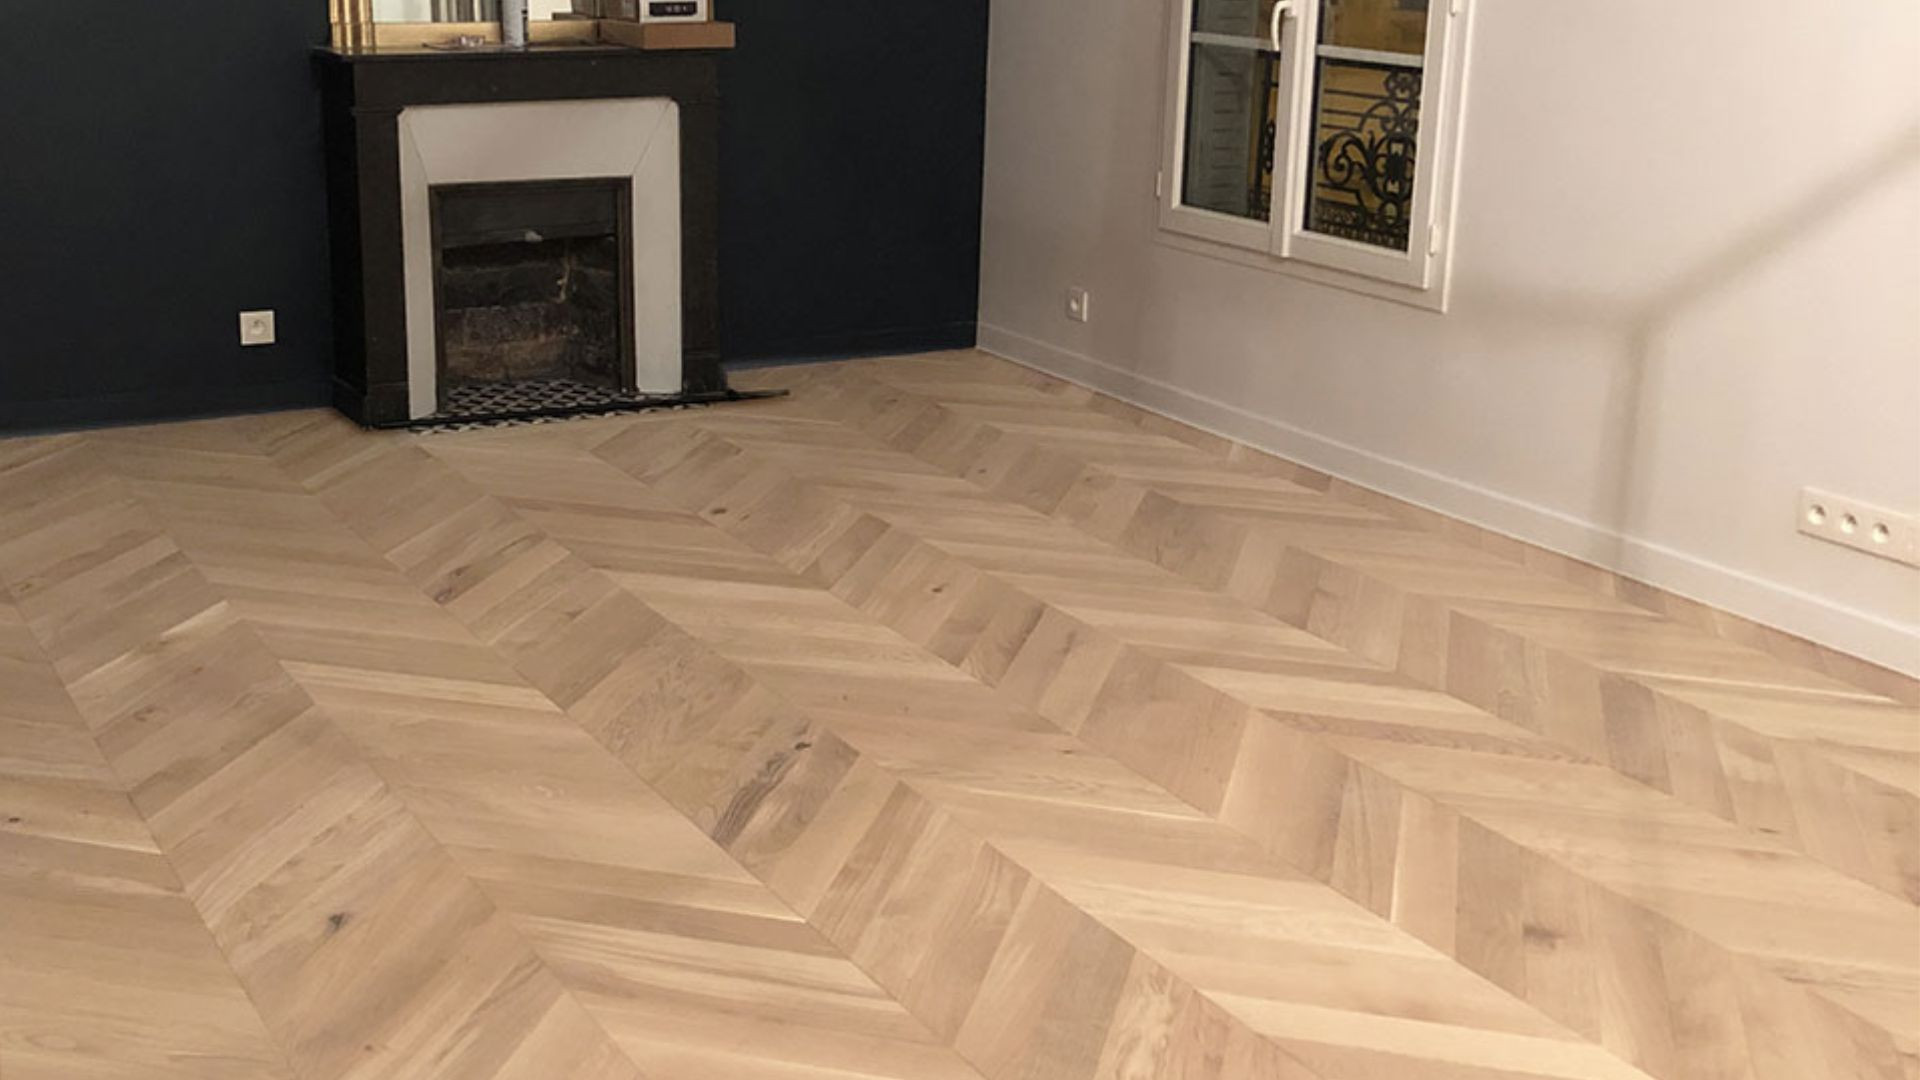
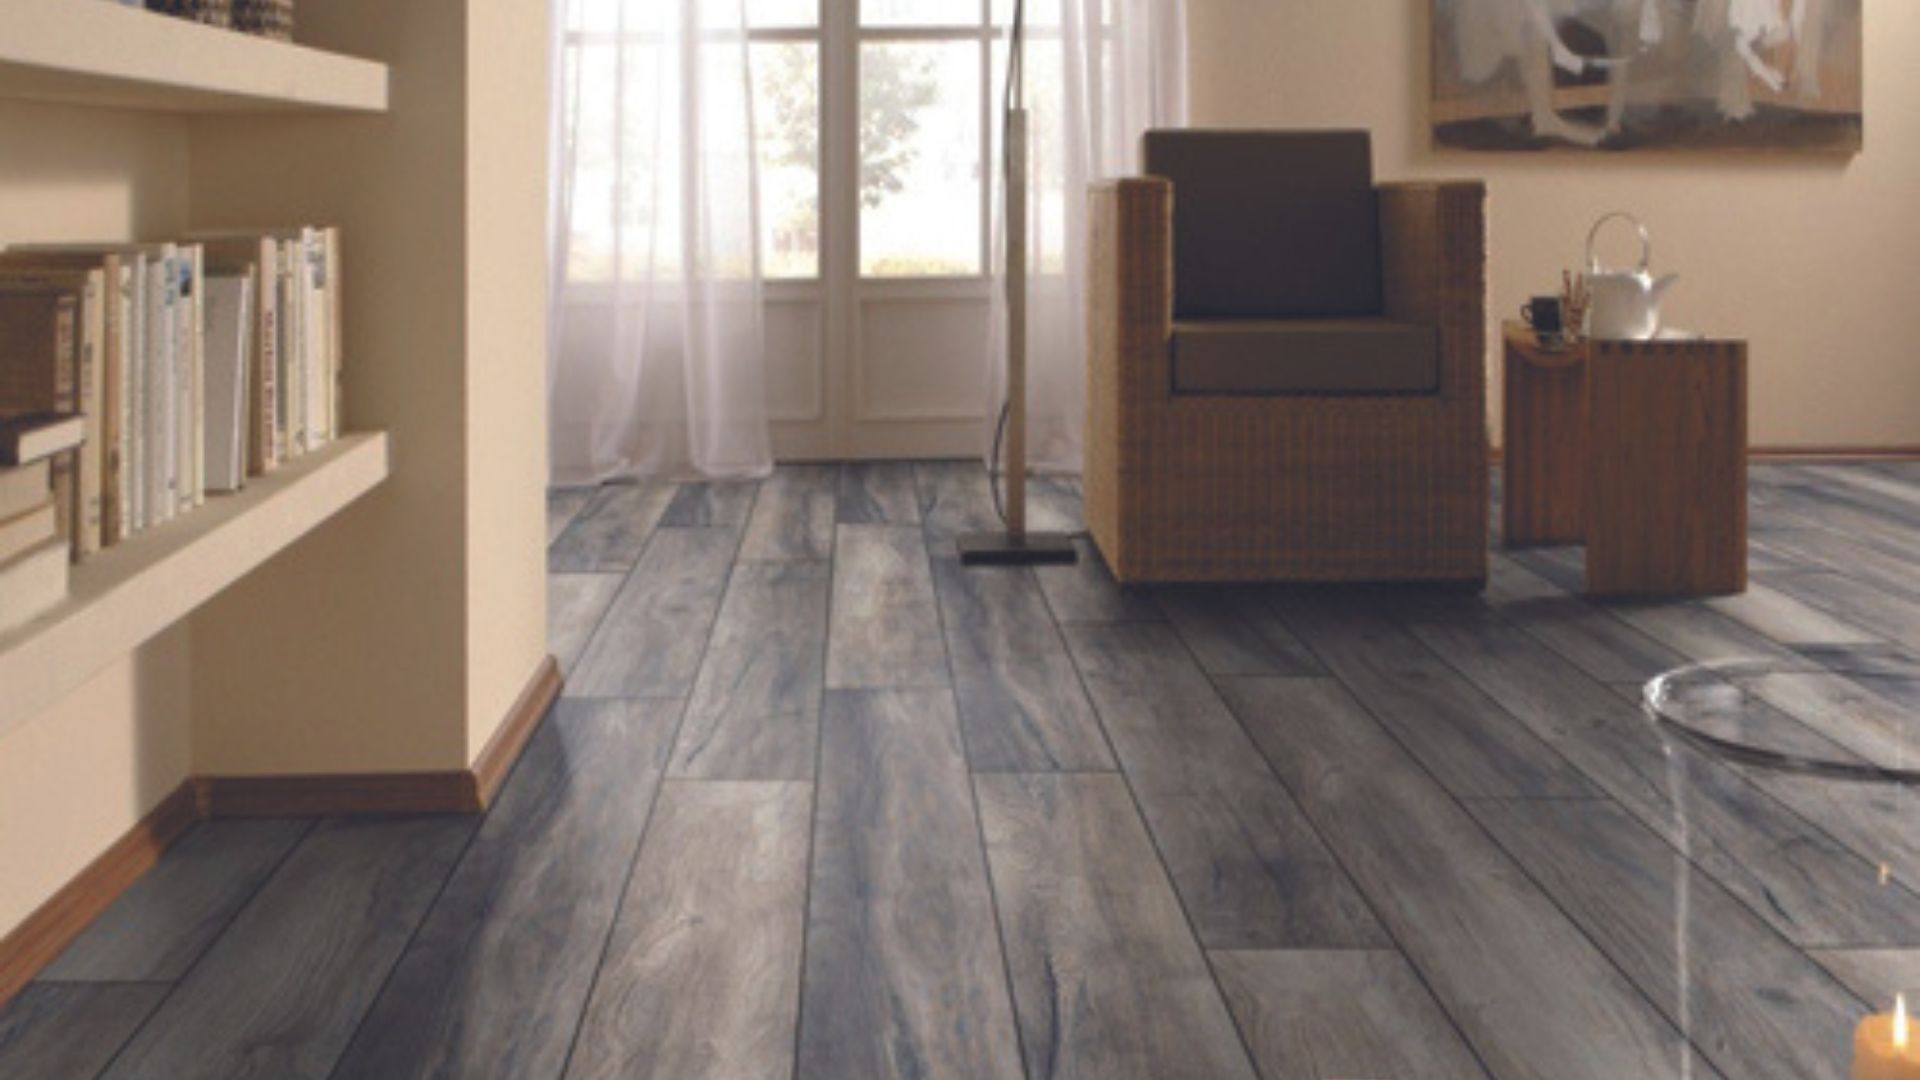
How to Choose the Ideal Flooring for Your Living Room
Lire la suite

Sound and Acoustic Insulation: Understanding the Difference and Choosing the Right Flooring Lire la suite
Soundproofing a space is a key consideration, whether to enhance the comfort of your interior or comply with current...

Hardwood Flooring: Key Terms and Practical Answers Lire la suite
Vocabulary and FAQ Part 2 on Hardwood Flooring: Discover Essential Terms and Find Answers to Common Questions for...

Tile vs Parquet: Why Parquet is the Ideal Choice for Your Floor Lire la suite
Parquet is the ideal choice for your floor thanks to its warm aesthetics, thermal and acoustic comfort, and ease of...

Parquet per m² Lire la suite
Premibel.fr stands out for its high-quality parquet at very competitive prices, offering an economical solution for...
Popular posts

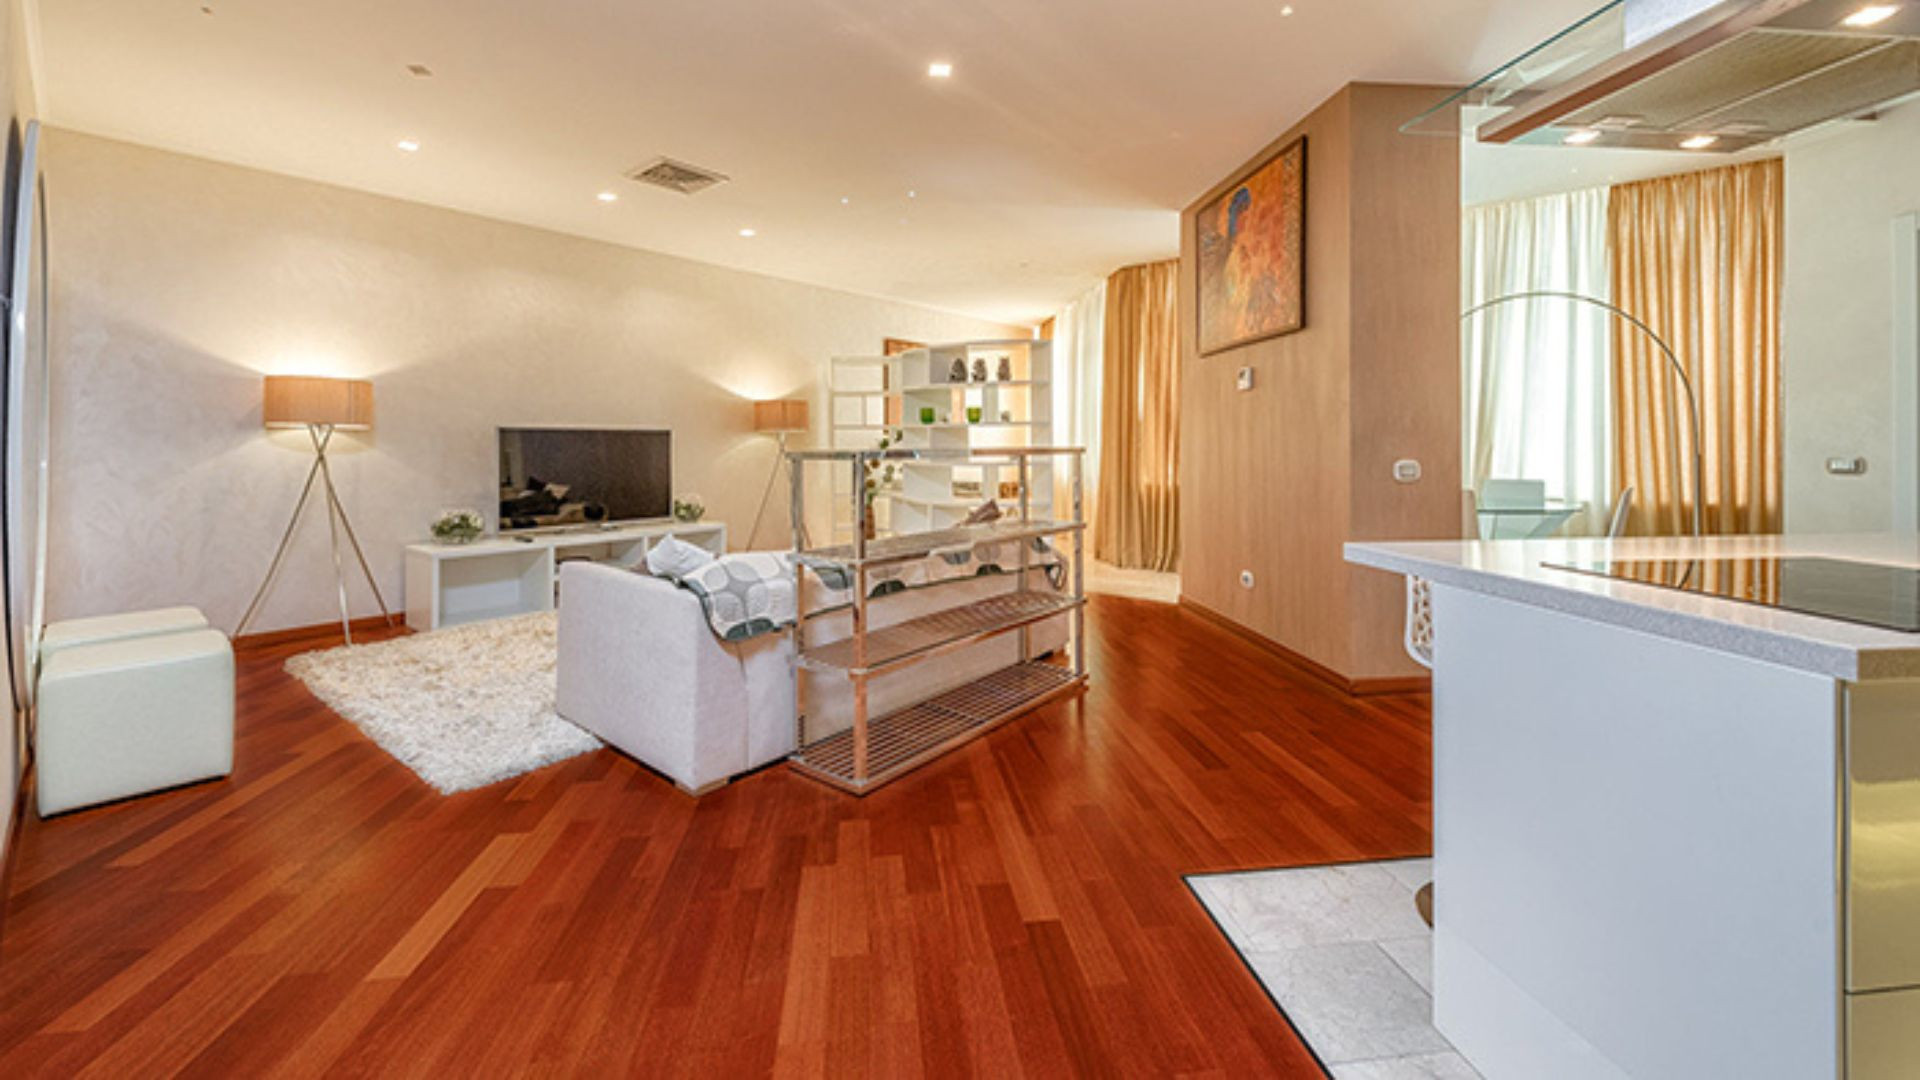
Which Direction Should You Lay Your Hardwood Flooring
Discover our tips for laying hardwood floors in the optimal direction for a perfect aesthetic effect in your...
Lire la suite
How to Choose the Best Hardwood Floor Color for Your Interior: A Guide to Selecting Floor Colors
Discover how to choose the best hardwood floor color to transform your interior with this comprehensive guide to...
Lire la suite
The fascinating story behind the name of the Herringbone parquet.
Discover the fascinating origin of the name "Herringbone" and dive into the history of this timeless pattern used in...
Lire la suite
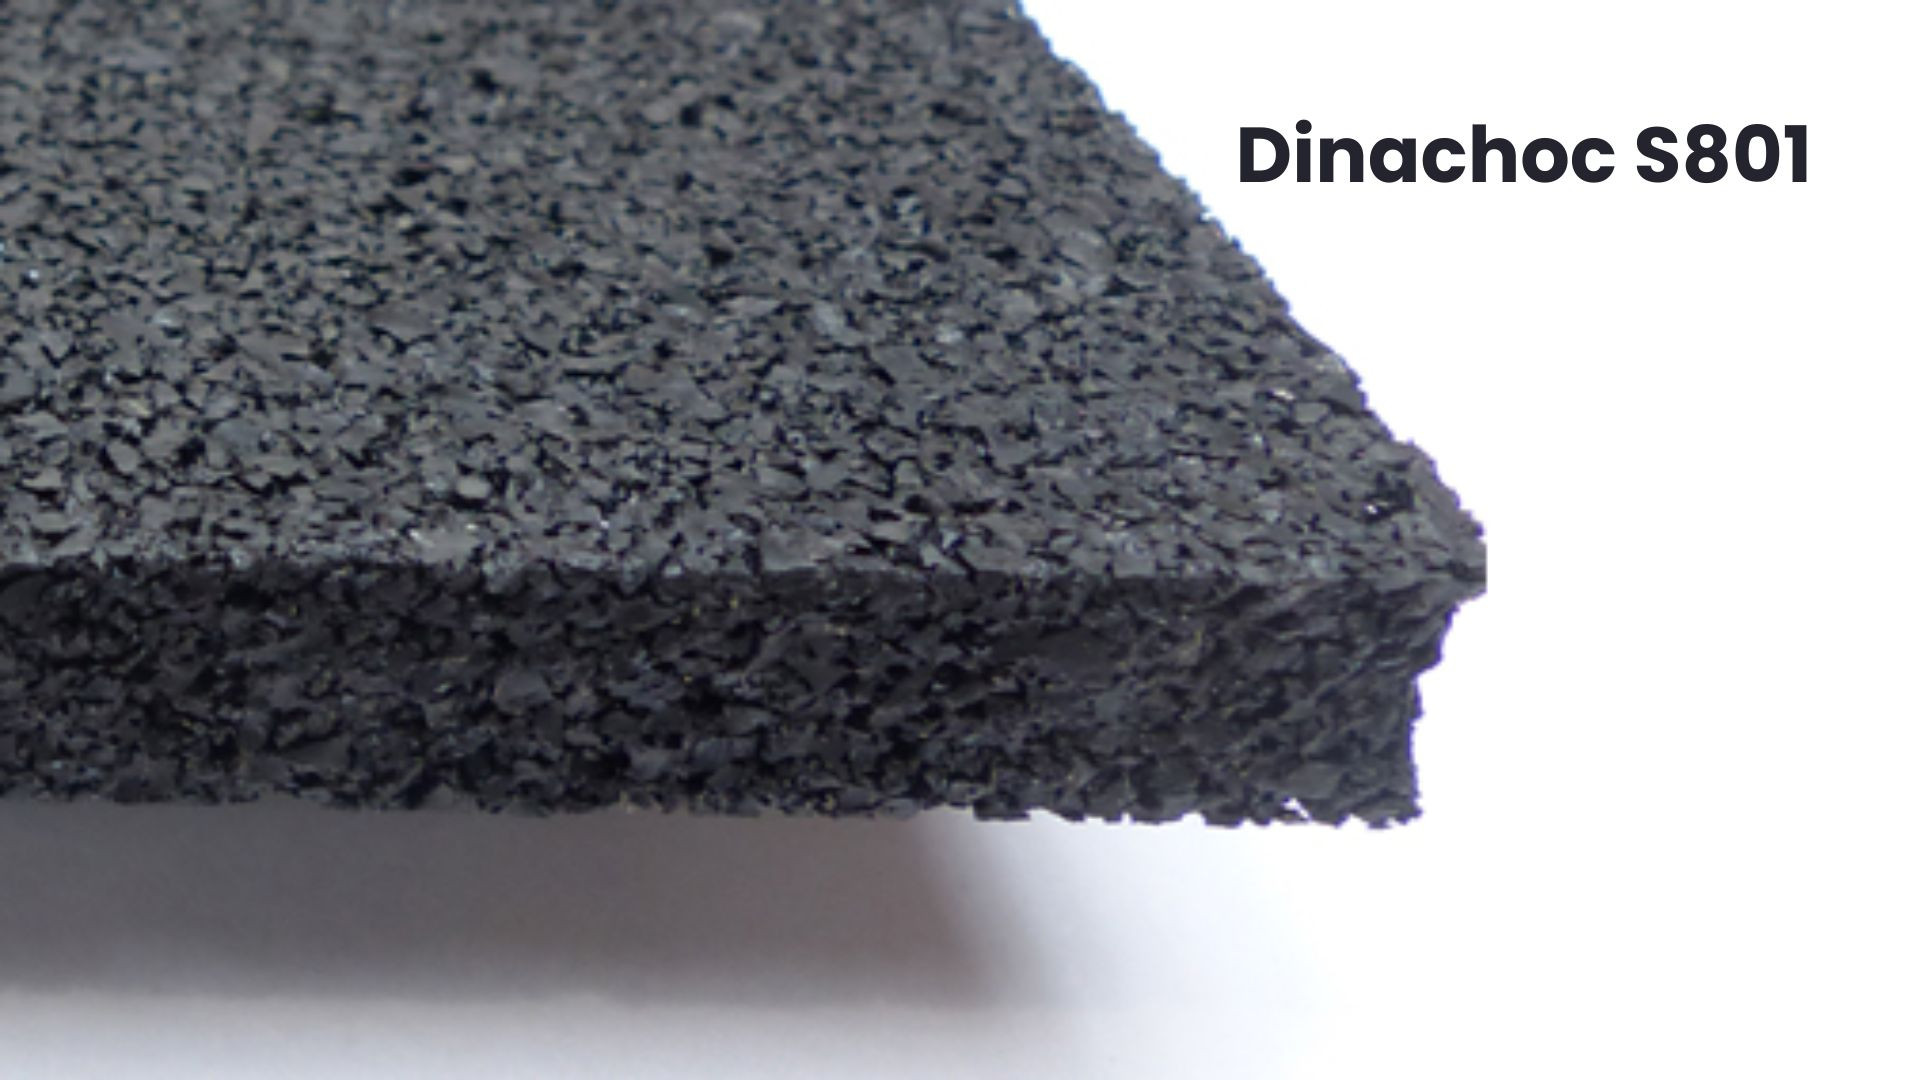
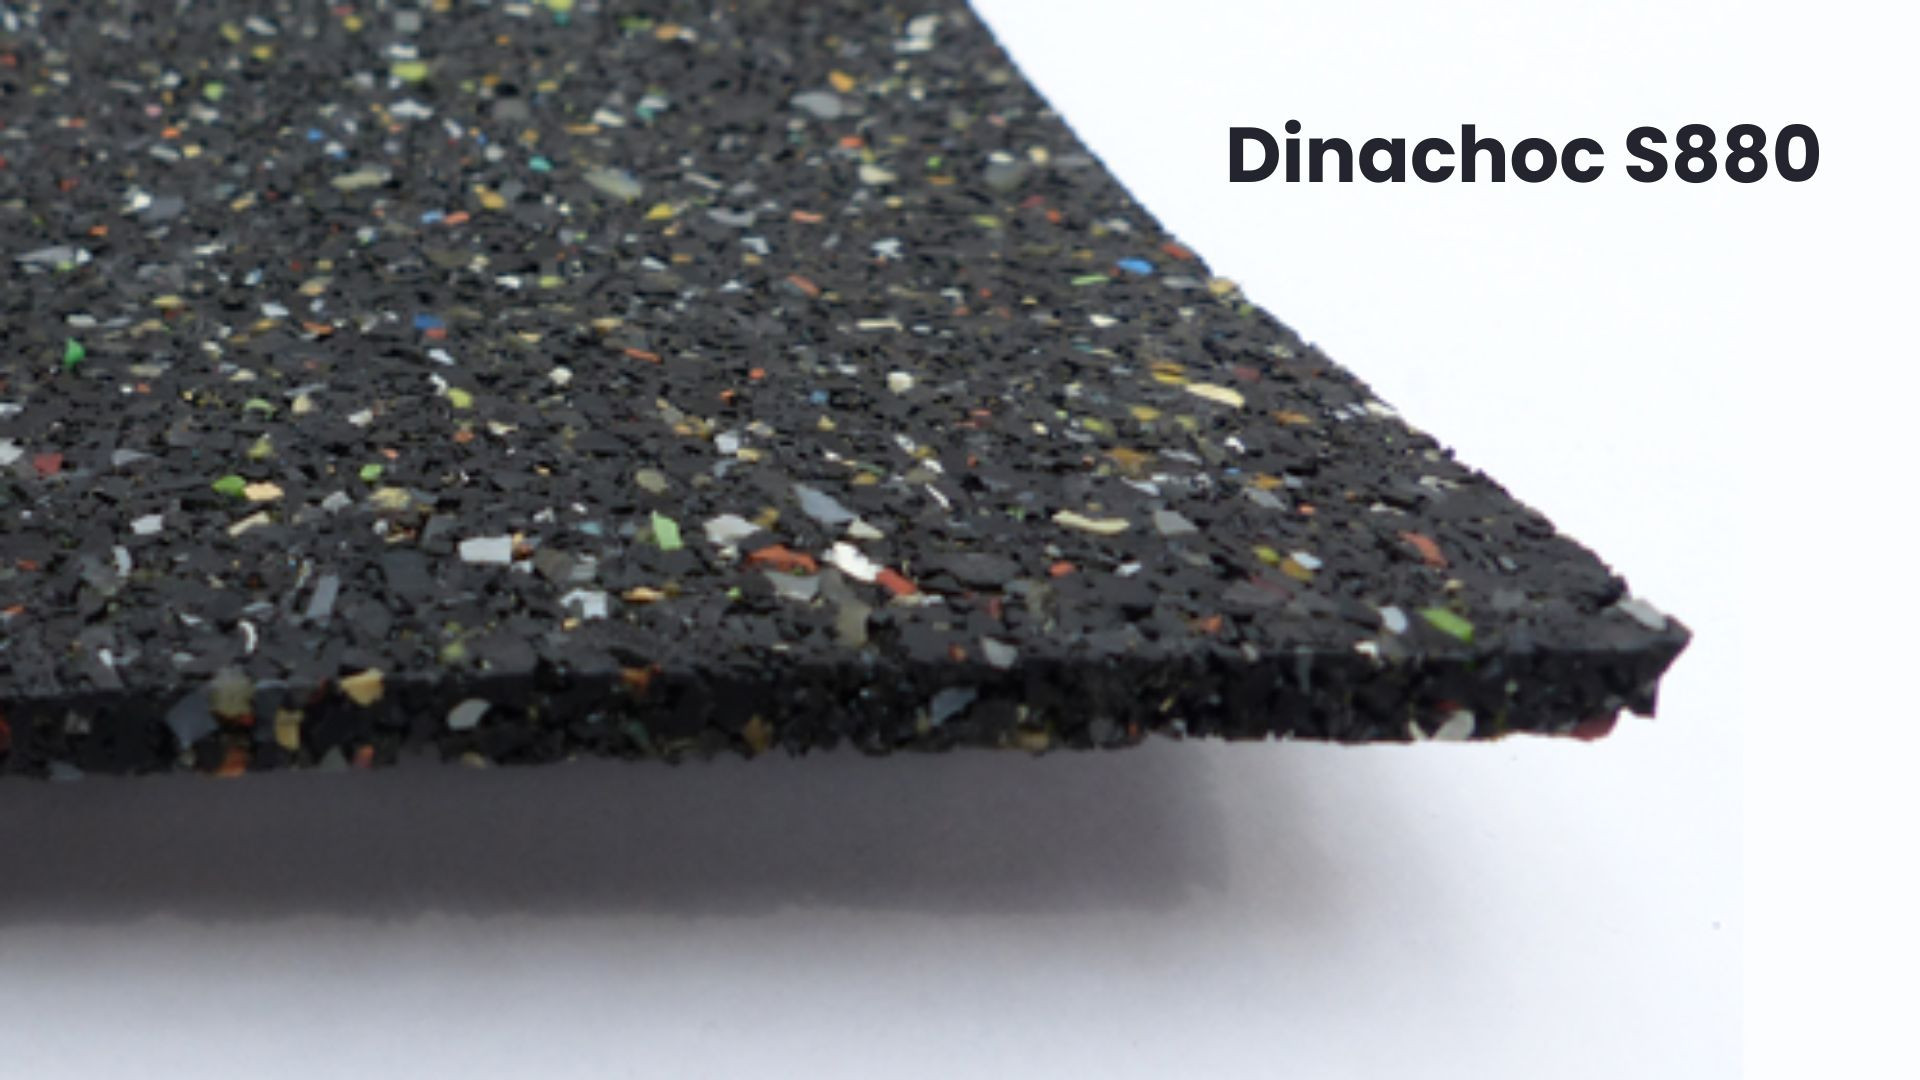
Optimize the durability of your hardwood floor with the Dinachoc underlay: an essential investment!
Discover how the Dinachoc underlay can extend the lifespan of your hardwood floor with its innovative technology. An...
Lire la suite
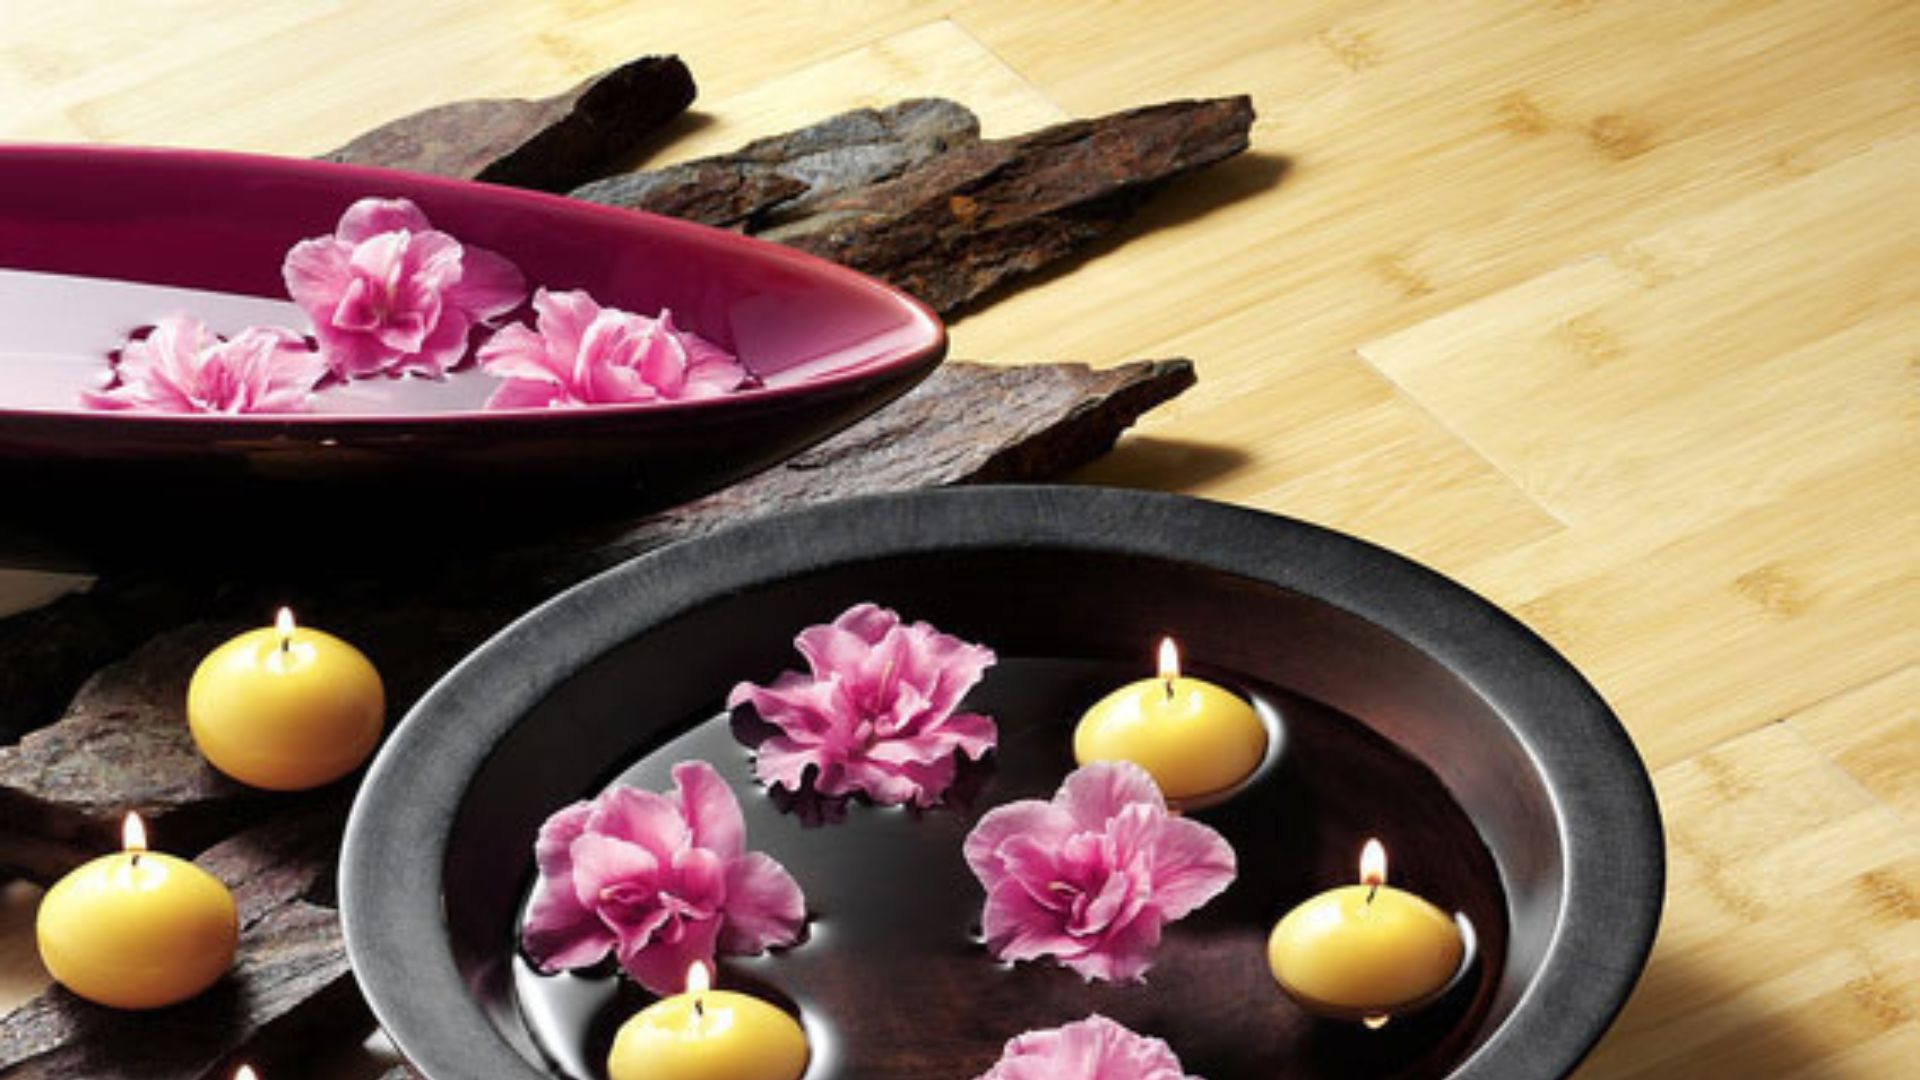
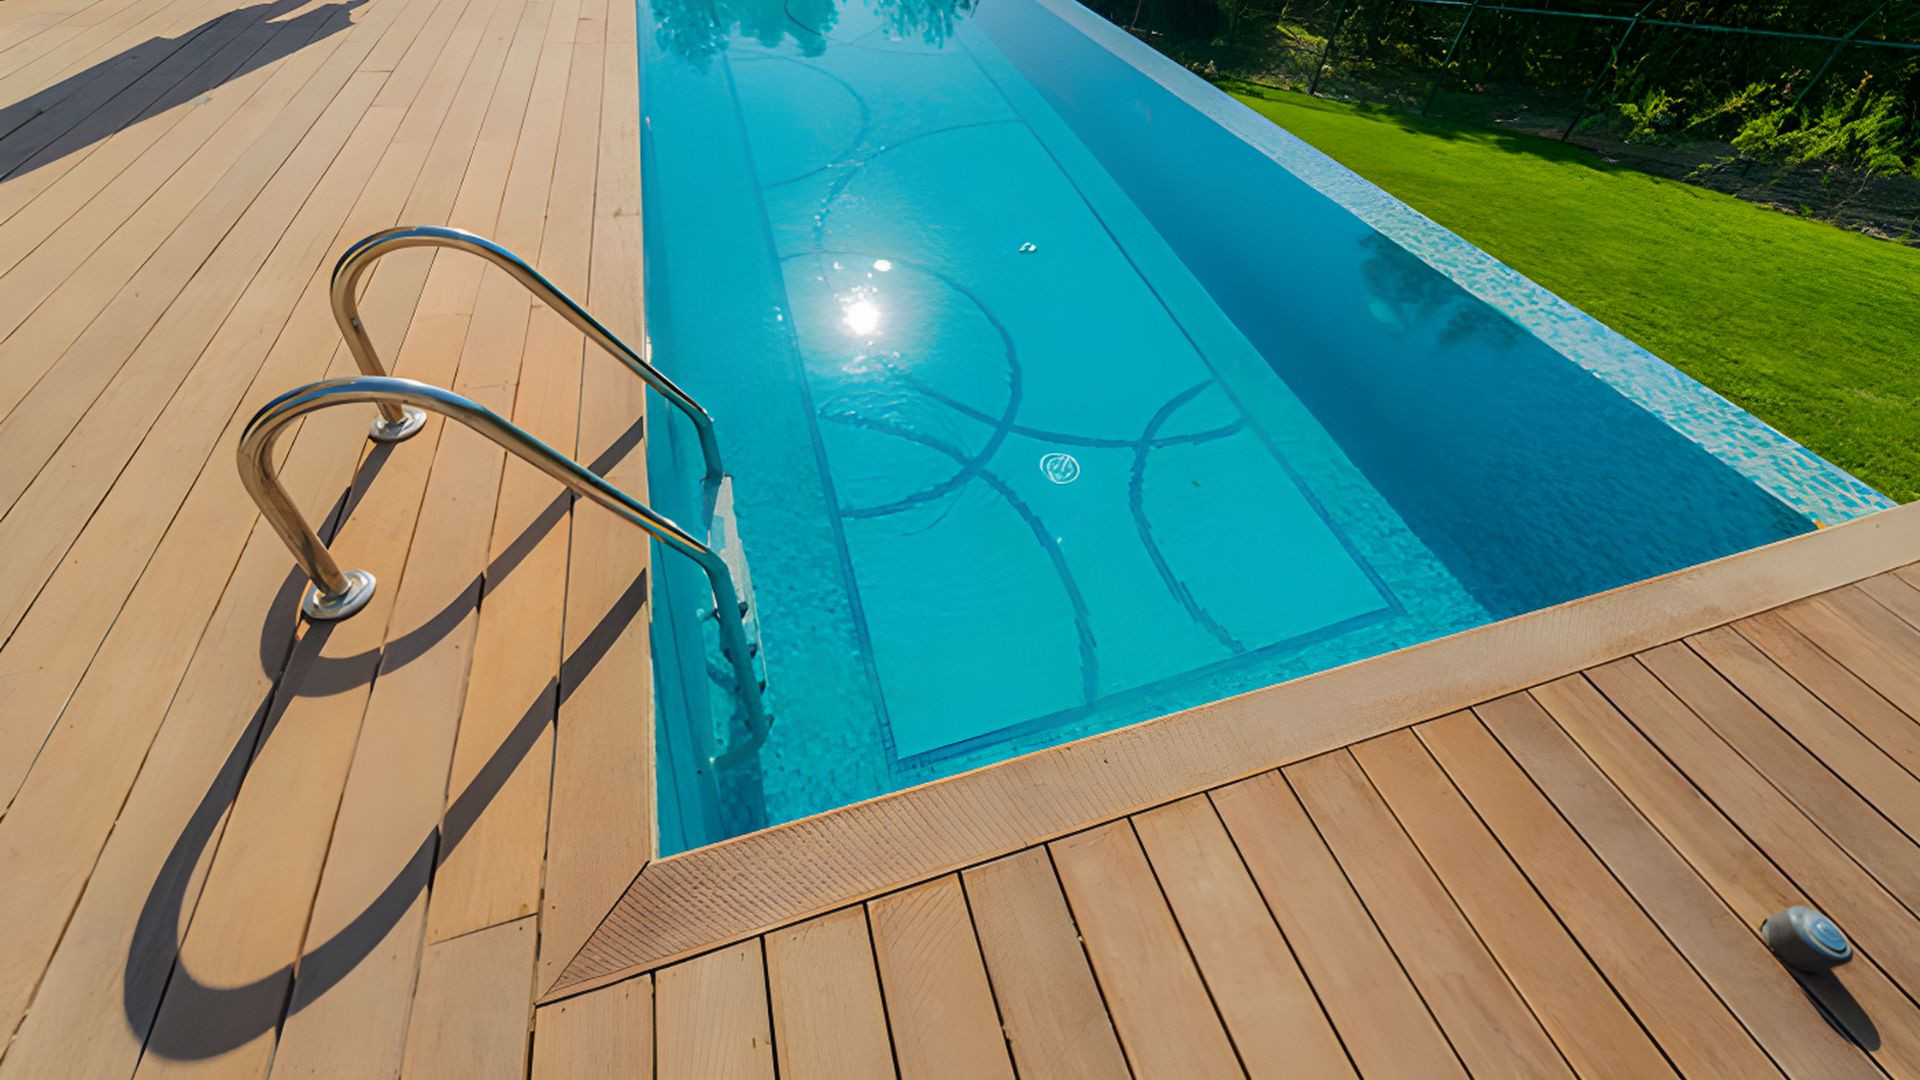
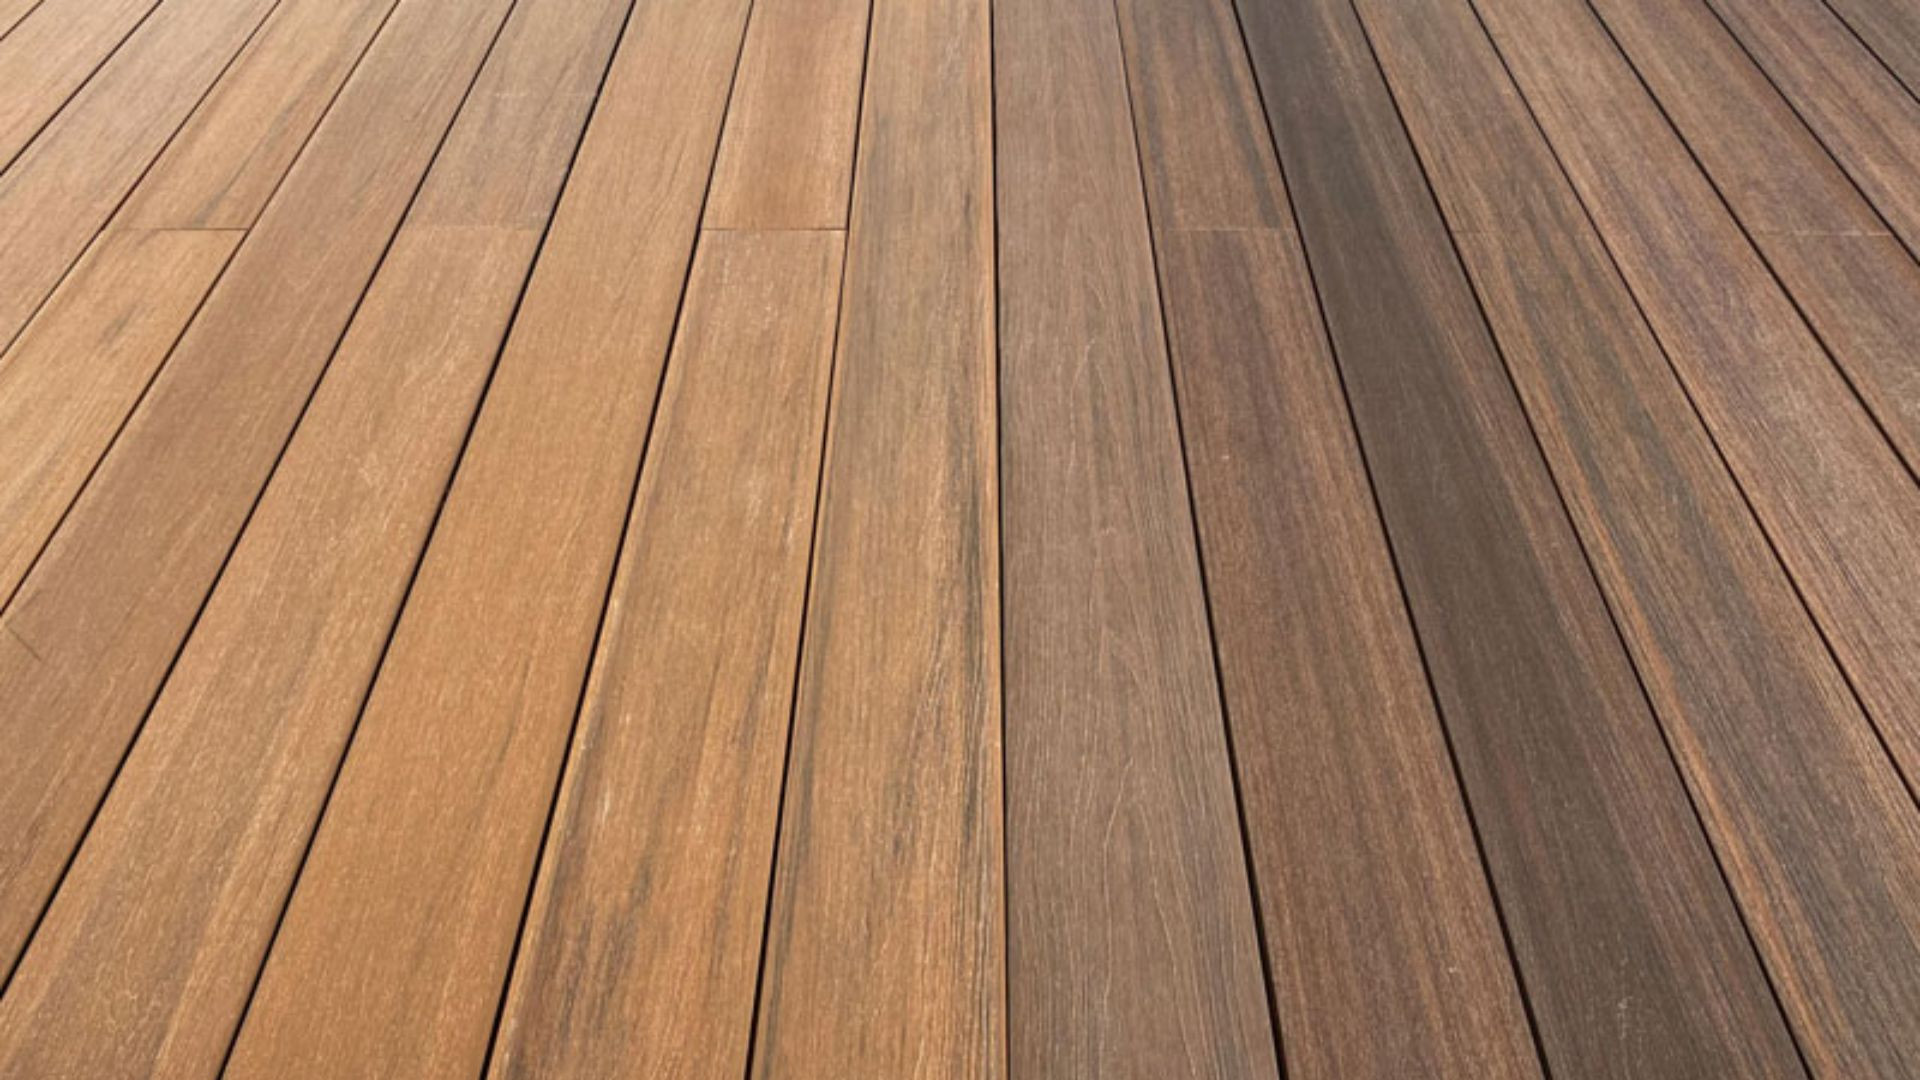
Everything You Need to Know About Bamboo Flooring: Eco-friendly, Elegant, and Durable
Discover the many benefits of bamboo flooring: an eco-friendly, elegant, and durable choice for your interior....
Lire la suiteFeatured posts
How to Choose the Ideal Flooring for Your Living Room
Discover the essential criteria for selecting the perfect flooring for your space. Aesthetic, durability,...
Lire la suite Sound and Acoustic Insulation: Understanding the Difference and Choosing the Right Flooring
Soundproofing a space is a key consideration, whether to enhance the comfort of your interior or comply with current...
Lire la suite Hardwood Flooring: Key Terms and Practical Answers
Vocabulary and FAQ Part 2 on Hardwood Flooring: Discover Essential Terms and Find Answers to Common Questions for...
Lire la suite Tile vs Parquet: Why Parquet is the Ideal Choice for Your Floor
Parquet is the ideal choice for your floor thanks to its warm aesthetics, thermal and acoustic comfort, and ease of...
Lire la suite Parquet per m²
Premibel.fr stands out for its high-quality parquet at very competitive prices, offering an economical solution for...
Lire la suitePhoto gallery
-

Parquet Bambou Massif Strong Macadamia
-

Parquet Chêne Massif Rustique Honey
-

Parquet Bâton Rompu Chêne Contrecollé Rustique...
-

Parquet Chêne Massif Rustique
-

Parquet Chêne Aspect Bois Brut
-

Parquet Chêne Massif Naturel


